Creating Visual Hierarchy and Impact Course
In this course, you will learn how to master visual hierarchy, emphasis, and clarity in your illustrations through exercises that include examples and guides. To improve your skills, you'll get lessons with insightful articles and a feedback session.
Introduction

Today, you’re about to embark on an intensive one-day challenge designed to push your artistic skills further than ever before. This isn’t just another art exercise—it’s a focused, high-impact experience that will help you learn, experiment, and grow while working toward a final piece you can be proud of.
This challenge is all about commitment, creativity, and momentum. We encourage you to go all in for the next few hours—immerse yourself in the process, explore new ideas, engage with the community and most importantly, enjoy the journey. By the end of today, you’ll not only have created something meaningful, but you’ll also have strengthened your artistic mindset and techniques.
Things you need
To make the most of this challenge, prepare:
- → Tablet, sketchbook, brushes, pencils, colors. etc
- → A timer to keep track of exercise durations
- → A comfortable workspace with minimal distractions
- → Art Challenge Reference Folder with inspiring examples
How it works
This challenge is structured to maximize learning, creativity, and motivation in a short, intensive format. Here’s what you can expect:
🔹 Engaging learning sessions to introduce key artistic concepts
🔹 Hands-on exercises that allow you to apply what you learn immediately
🔹 Strategic breaks to reset and refresh your mind
🔹 Progress sharing with the community, ask for feedback, and connect with fellow artists
🔹 A final piece that showcases your improvement and commitment
Engage with the community
Art thrives in community, and this challenge is designed to bring artists together. If you haven’t already, join the Art Challenges Whatsapp Group and take a moment to introduce yourself by sharing:
🔹 A short introduction about you and your artistic background.
🔹 One artwork that represents your current style
🔹 What are your expectations from this community?
🔹 What personal challenge are you working on right now?
Engaging with other artists will enhance your experience, provide inspiration, and give you valuable insights. Don’t hesitate to support others, give feedback, and share your progress along the way.
01. Visual Hierarchy
A chaotic composition can confuse the viewer and dilute the message of your artwork. Visual hierarchy creates clarity, direction, and structure, helping the eye know exactly where to look first and how to move through the scene.
A strong composition isn’t just about where objects are placed—it’s about controlling what the viewer sees first. Visual hierarchy helps you organize elements in a way that naturally guides the eye, making sure the most important parts of your artwork stand out. Without hierarchy, a composition can feel visually confusing or chaotic, making it harder for the viewer to understand the scene.
By taking this step, you will be able to understand the purpose of visual hierarchy. You’ll explore the essential principles, put them into practice, and analyze your own work to make smarter artistic decisions. Stay focused, experiment, and remember—this is all about progress, not perfection.
Learn
By exploring the recommended articles, you can enhance your understanding of these principles and create effective visual hierarchies. By putting it into practice, you can make your art more impactful, making sure that viewers engage with it meaningfully and understand its intended message.
While reading and researching the visual examples part of the article, you can create your Art Challenge Reference Folder with the most inspiring examples from the next articles and your own personal research.
Exercise – Build Your Visual Hierarchy
Now that you’re familiar with these principles, it’s time to put them into practice. Sketch three small, quick thumbnails (10 min each) for a digital illustration. Focus on shapes, not details, while applying different types of hierarchy:
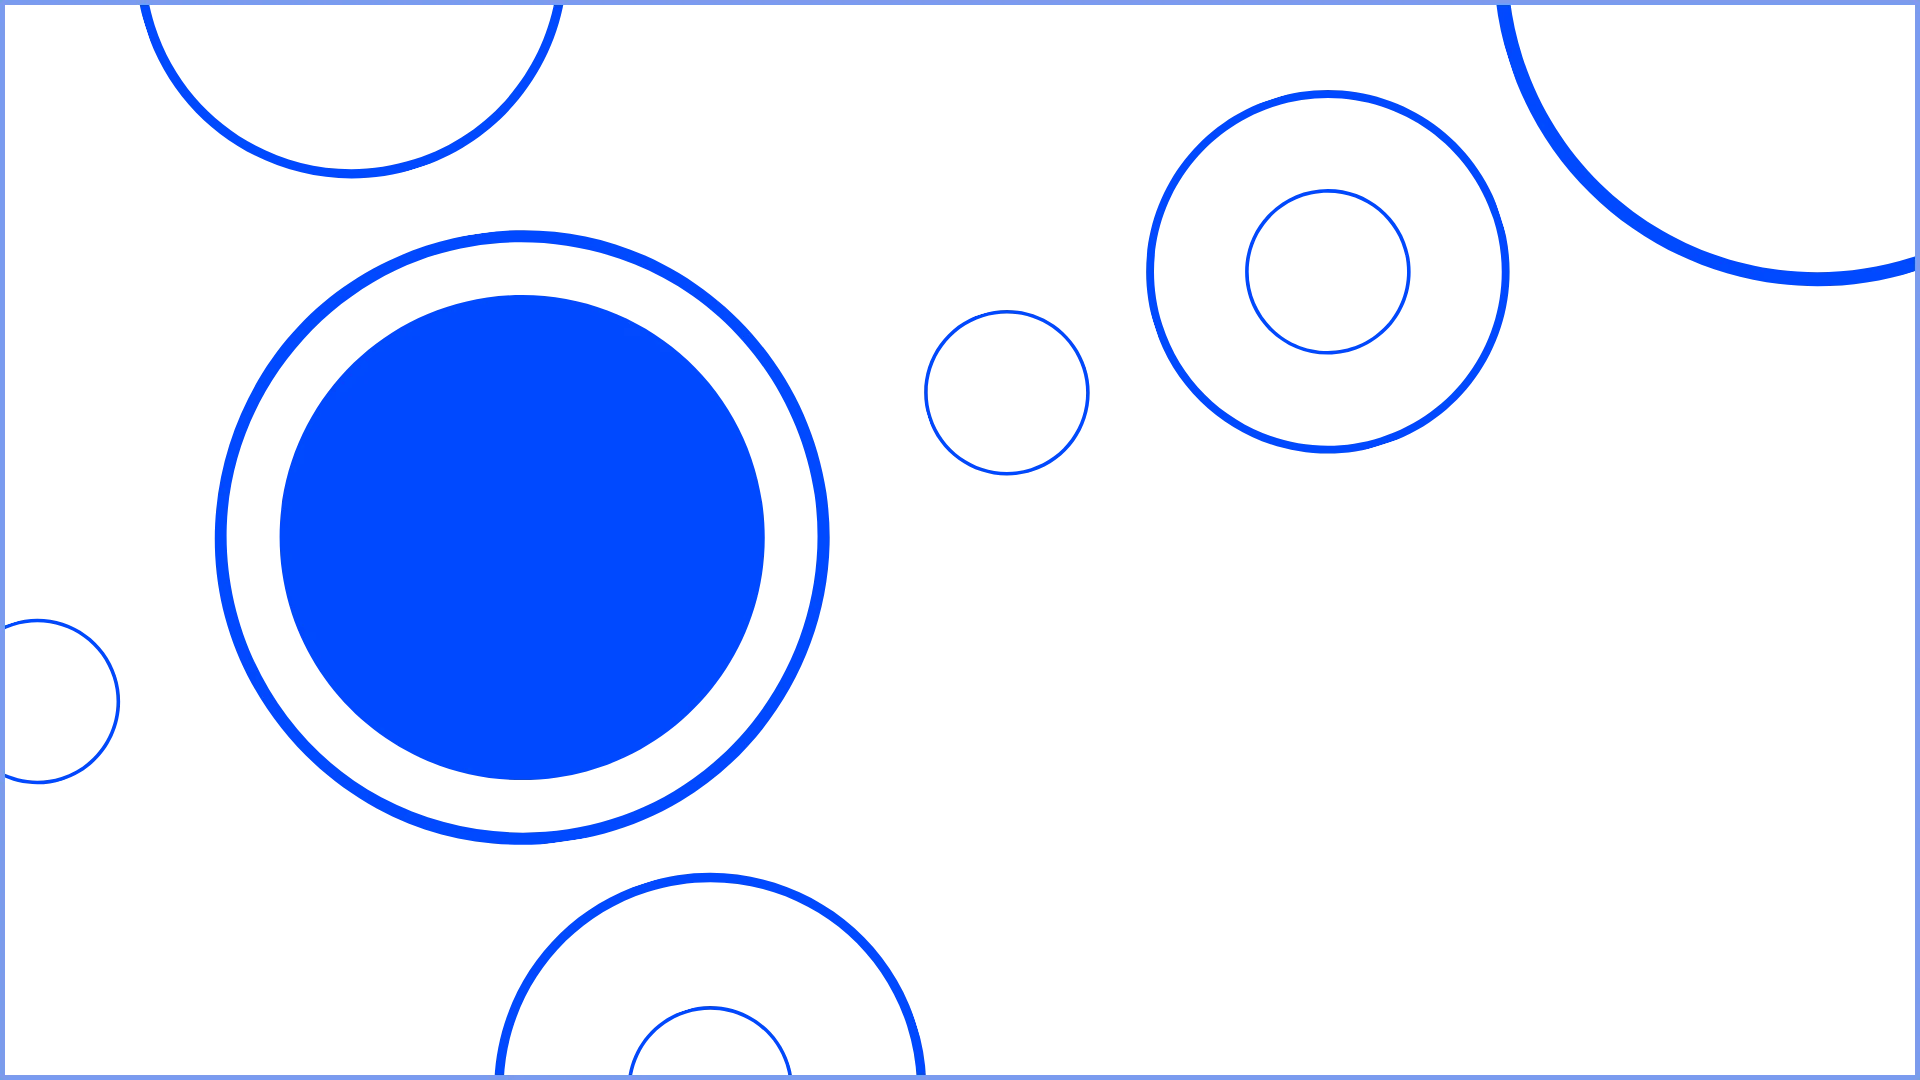
Primary Element Placement↓
Place the primary element in relation to other elements to distribute visual weight evenly, avoiding overly static or chaotic arrangements.
.webp)
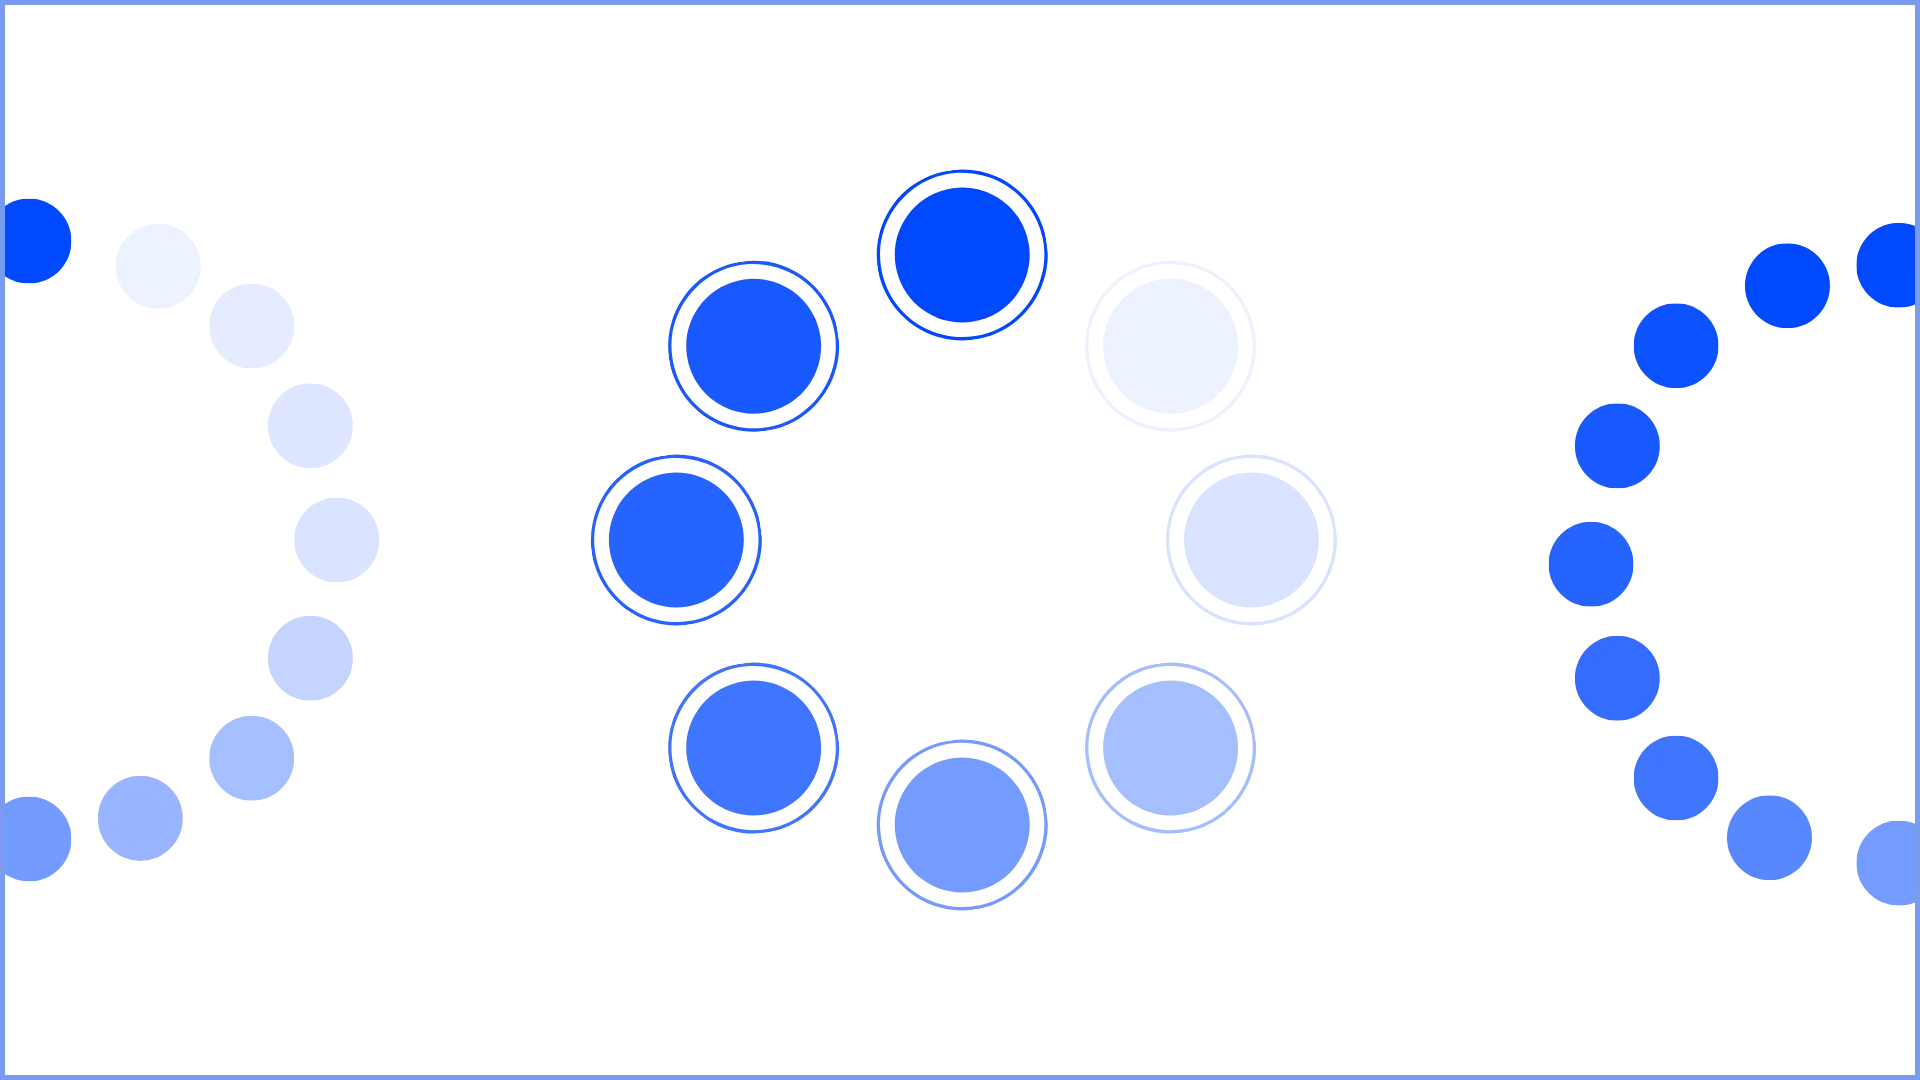
Supporting Details↓
Use supporting details to distribute visual weight and create harmony without overshadowing the main element.
Contrast↓
Use areas of high contrast (light vs. dark) to draw attention to focal points, while balancing them with low-contrast areas to create harmony.
.webp)
Self-Feedback
Take a step back and analyze your thumbnails. Answer these questions honestly—this will help you make better composition choices moving forward:
- 1. Which part of the image attracts attention first? Is this where you intended?
- ________________
- 2. Are there any elements competing for attention and making the composition unclear?
- ________________
- 3. Does the composition feel structured, or does it feel visually scattered?
- ________________
Your choices in this step will set the stage for the rest of the challenge. Trust your instincts, challenge yourself, and keep pushing forward.
Quick recap
In this challenge, you learned how to prioritize key elements in your composition by utilizing visual hierarchy. You explored the use of size, contrast, and placement to highlight significant areas and direct the viewer's initial focus. Strong visual hierarchy makes an artwork clearer, more engaging and easier to read.
By working quickly and focusing on shapes rather than details, you learned how to think in terms of composition before committing to a final idea. Thumbnailing allowed you to test different approaches, compare their strengths, and make deliberate choices about where to position elements for the strongest visual impact.
This step set the groundwork for everything that followed, ensuring that your composition had a strong starting point and a clear direction.
02. Entry Point
Now that you’ve laid the groundwork, it’s time to build upon it. This step will challenge you to refine your approach, make stronger decisions, and push your artistic understanding further. Stay open to learning and trust the process.
The entry point is the gateway to your artwork—it’s where the viewer begins their journey. A strong entry point captures attention instantly and guides the eye deeper into the composition. In this challenge, we’ll refine your ability to create a magnetic first glance that sets the whole scene in motion.
Start by better understanding how to create Entry Point by studying the recommended articles to get you up to date:
Exercise – Creating a Strong Entry Point
With a better understanding of entry point, it’s time to apply these concepts in your next thumbnails. Sketch three small and quick thumbnails (10 minutes each), focusing on:
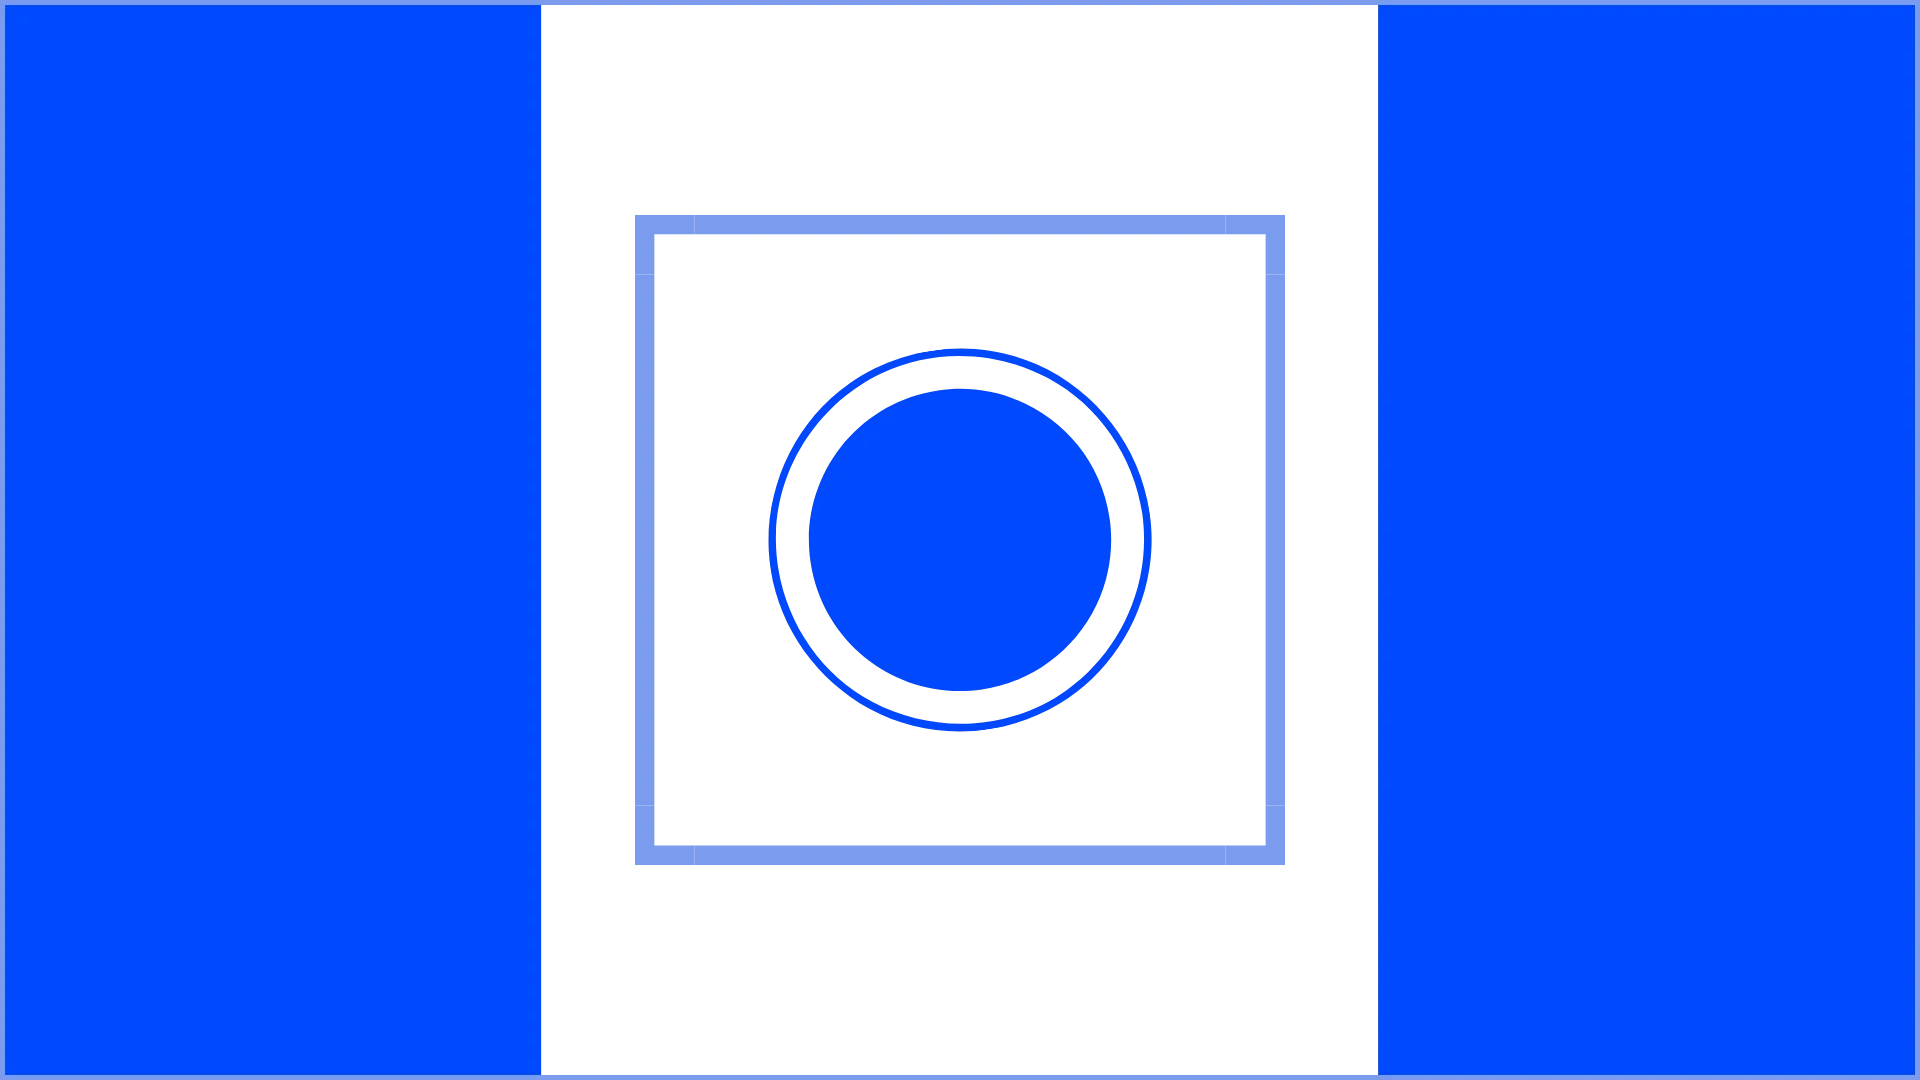
Focal Point↓
Make the focal element larger or uniquely shaped compared to surrounding elements.
.png)
Framing ↓
Use foreground objects as frames to create layers and a sense of perspective.
Focus ↓
Use techniques like focal point, framing and focus to create a clear focal point that draws the viewer's attention. By simplifying surrounding elements and guiding the viewer's eye through deliberate visual pathways, you can ensure that the most important aspects of your artwork stand out and convey your intended message effectively.
.png)
These sketches should emphasize how to use framing to isolate your subject, and create a strong first impression by guiding the viewer's focus.
Self-Feedback
Now, analyze your sketches and reflect on how effectively you've created entry point. Answer these questions honestly to refine your artistic approach:
- 1. Where does your eye go first when looking at the image? Is it intentional?
- ________________
- 2. Are there competing areas of interest that distract from the entry point?
- ________________
- 3. Does the eye move naturally through the composition, or does it feel disconnected?
- ________________
Take your time, evaluate your work, and choose the thumbnail that best represents strong depth and spatial clarity. You’re building something great—keep going!
Quick Recap
A well-defined entry point grabs attention immediately and ensures that the viewer engages with your composition as intended. A successful entry point acts like an invitation. You practiced making the first contact feel deliberate and smooth. Entry control = attention earned.
This wasn’t just about making something bold; it was about creating a welcome path into your world. Whether you chose to spotlight a glowing face in shadow, an object surrounded by space, or a motion cue that directed attention inward, you started to see how the very first glance determines everything. From now on, your viewer won’t drift aimlessly into your image—they’ll be drawn in, guided, and invited to stay. That’s how engaging art begins—with intention, clarity, and direction.
03. Emphasis
With each step, your work is evolving. Now, you’ll start adding depth to your skills, exploring how different elements work together to create stronger, more intentional results. Focus, experiment, and let creativity guide you forward.
Now it’s time to ask the big question: what’s the most important part of your composition? Emphasis is the answer. If your viewer isn’t sure where to look, the impact is lost. This challenge is all about making your subject impossible to miss.
Emphasis ensures that the most important element in your composition stands out. Whether you're creating a character-focused illustration or a dynamic scene, emphasis helps control attention and visual storytelling.
Learn
Start by better understanding how to create Emphasis by studying the recommended articles to get you up to date:
Exercise – Strengthening Emphasis
Now that you understand how emphasis impacts visual hierarchy, apply these ideas by sketching three small and quick thumbnails (10 minutes each), focusing on:
Lost in the Details ↓
Simplify surrounding elements to act as supporting features, ensuring they guide attention to the main subject rather than competing with it.
.webp)
Impact ↓
Focus on expressing the idea through the chosen environment, supports the idea with secondary elements
Detail and Sharpness ↓
To create emphasis through detail and sharpness in your artwork, focus on enhancing key areas with precise lines, textures, and contrasts. Use sharper edges and intricate details for focal points while softening surrounding elements to ensure the main subject stands out clearly against the background.
.webp)
Self-Feedback
Take a step back and analyze your thumbnails. These questions will help you assess whether your composition feels clearer.
- 1. Is the most important subject the first thing you notice?
- ________________
- 2. Does the background help support or compete with the emphasis?
- ________________
- 3. Does the composition feel bold and intentional?
- ________________
If something feels off, adjust size, contrast, or placement to improve clarity. A strong visual hierarchy ensures the viewer sees what matters most first. Keep going!
Quick Recap
You learned to prioritize clarity over decoration. Good art doesn't just look good - it communicates well. Emphasis makes your message readable. You now have the power yo make your subject impossible to miss. A successful composition relies on deliberate control of focus, and emphasis is your most powerful tool to guide the viewer’s attention. In this challenge, you practiced identifying and isolating your most important subject, then supporting it with composition choices that helped it shine. You learned to reduce clutter, increase contrast, use sharpness and edge clarity, and apply visual framing techniques that naturally draw the eye.
This process wasn’t just about making something brighter or bigger—it was about learning to use every surrounding element as a support system. You explored how colors, values, negative space, and detail distribution all contribute to emphasis, and you made tough decisions about what to highlight and what to simplify. From now on, your illustrations will feel more confident, intentional, and narratively focused, simply because you’ve chosen what matters—and you’ve shown the viewer exactly where to look.
04. Signal-to-Noise Ratio
You’ve come this far, and now it’s time to fine-tune your approach. This step will help you bring clarity to your work, strengthening your decision-making and refining your creative instincts. Stay committed and keep pushing forward.
This final challenge is all about refinement. You’ve structured your composition, guided the eye, established hierarchy, and defined your focal point—now it’s time to clean it up. The “signal” in a composition is the essential information: the focal point, the flow, the purpose. The “noise” is anything that competes with that signal—extra lines, unnecessary colors, textures, details, or even poor spacing.The difference between a good piece and a confusing one often comes down to this: too much noise. When every element screams for atention, nothing is heard. This challenge will help you clean up your composition, keeping the important signals loud and the distractions low.
Learn
The signal-to-noise ratio refers to how much useful information exists in an artwork compared to unnecessary distractions. A strong composition removes clutter and ensures clarity.
Before jumping in, take a moment to explore these key concepts:
Exercise – Cut the Noise
Now that you understand the importance of contrast and focus, apply these ideas by sketching three small and quick thumbnails (10 minutes each), focusing on:
Simplify Background ↓
Try experimenting with secondary forms on the background. Make a comparison between a work with a cluttered background and a work with an empty background. Strip down unnecessary elements that distract from the subject
.webp)
Tone Grouping ↓
Limit midtones and unify secondary forms into shapes, not outlines
.png)
Sharpen Signal ↓
Boost contrast or detail only in your focal area—nowhere else

Self-Feedback
Take a moment to analyze your thumbnails. These questions will help you assess whether your composition is clear and equilibrate.
- 1. Does every element serve a purpose, or is there clutter?
- ________________
- 2. Is the focus clear, or are there too many competing details?
- ________________
- 3. Does the composition feel refined and intentional?
- ________________
The signal-to-noise ratio in composition refers to the balance between essential elements (signal) and extraneous details (noise). A great composition is not just about what you add, but also what you remove.
Quick Recap
Less is often more. You learned how to prioritize clarity, reduce clutter, and let the key message lead the image. This is where design meets storytelling. You've cleared out the visual noise and made room for your signal to shine. The viewer now sees what matters. That's a mark of a mature artist. Through simplification, spacing, and smarter use of contrast, you gave your work clarity and focus. You practiced restraint, and in doing so, gave your strongest elements the space they needed to shine.
This is one of the most important (and often overlooked) skills in illustration: knowing when to stop. You learned that not every detail improves a piece—some dilute its power. And now, with this awareness, you can move forward as a more deliberate artist, confident in your choices and in control of your viewer’s experience. Your compositions are no longer just beautiful—they’re clear, intentional, and impactful.
You’ve come this far, and now it’s time to fine-tune your approach. This step will help you bring clarity to your work, strengthening your decision-making and refining your creative instincts. Stay committed and keep pushing forward.